Greetings!
Tax prep season is over for most of us, and we are busy gearing up for the start (or well into) a successful 2025 market season!
In a recent poll for members of my new Facebook Group, Dry Mix Riche$, half of those responding said they needed help just figuring out where to start.
(PS Those of you already IN the dry mix genre, please add any tips or better explanations that might occur to you, in the comments after this article! Appreciate it. We all benefit from helping each other.)
Since I came from processing sauces filled into jars and bottles, when I added dry mixes, I just used the same approach. However, now I realize that folks just starting out, or are converting/adding from a bakery process, come from a different perspective.
Let’s brainstorm a bit together, eh?
If you are just starting out, see if you can follow my logic, as I go through the the process looking from the mind of a cottage baker, who is adding a dry mix line associated with their favorite baked goodies.
As a baker, one of the critical first tasks is converting our personal recipe to commercial scale, right?
We convert volumes of dry ingredients (e.g. cups, tablespoons) to weights. After all, we move to buying bulk items, even maybe up to 50 lbs… we need to know how many cups in a 20 lbs of flour or sugar, right?
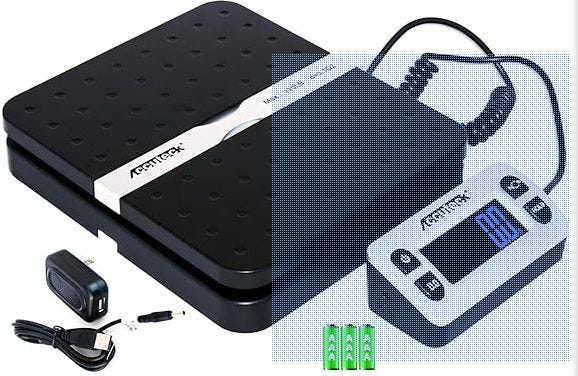
PS If you don’t have a good scale, I recommend the 110 pounder below! Not only is it accurate enough to be a postal scale, and gives both English AND metric (down to 1/10 ounce and 1/10 grams) but the digital reader is out on a little cable. You can put a huge box on the scale, and still SEE the reading. GREAT FOR SHIPPING boxes where you can’t see under the box like with a traditional scale.
Going back to the kitchen…
From the wet batter we part out individual goodies, and bake. Cookies, muffins, cake pops, etc.
With many dry mixes (not all), you are helping plan a meal, or a recipe, or a small bulk container, rather than just scooping out for one individual end product.
So in a way, you are moving back to volume measurements. Stay with me, to see why.
Pouches (primarily — but not necessarily — stand-up pouches) are the most common starter packaging in the dry mix field. You can get them with clear windows of various sizes and shapes, clear on one complete side (my fav), or solid, where you can’t see the product at all.
(I think there is a visual marketing advantage for showing the ingredients in your packaging, for most categories of mixes.)
You might use other kinds of bags, which do not offer as much structure. And a lot of “Mixies” use jars. E.g. Cake mix in a car, cookie mix in a jar. I’ve seen teas in jars.
Recently I ran across a member of our Cottage Food Business community that even put croutons in a jar! The product looked pretty good.
Many things come in mini-bulk like croutons, coffee beans, candies, herbs, etc. you are trying to hit the optimal size of product package your market is most likely to buy. (Rather than buying a one-off cookie or cupcake.) Some goodies own a shorter shelf life then others before they get stale, so those are often sold in smaller bags or jars.
(Note that many dry mixes come in cardboard boxes/packaging, but that only becomes cost effective at higher future volumes, due to equipment costs.)
Now let’s look at where or why we might target a meal size or a recipe.
For example, your customer might want to get ingredients and packaging in a dry mix bag or pouch for:
A 10-inch, 12-inch, and/or 16-inch pizza crust mix.
A soup mix for a single, couple, and/or family size.
Cake mixes for different sizes of cakes.
Beverage mixes for individual (put into your glass) or bulk (scoop out what you need).
At this juncture, regardless of your dry mix type, you are going to need to know how much mix per package, NOT just scooping out batter for your cookie or muffin. And because you are subject to accurate and consistent weights (by law, courtesy of your state bureau of weights and measures), you need to think this through.
(Note that the consistent Net Weight issue is not as critically important unless/until you wholesale, and your goodies start appearing on a shelf in a retail store. Depending on your state, of course.)
So now, what is the most efficient way to get that mix into your packaging?
Trust me, you don’t want to set there and weigh each package one at a time, taking a little out, and putting a little back in, until you get to your target weight.
This is where, for practicality (since you can’t yet afford a programmable $30K semi-automatic dry mix filler), you will probably be using a measuring scoop of some kind, matched to your target product size.
PS Filling bags of any kind with a mix can be tedious hand work. Sigh.
On the other hand, still less work than blending, proofing, depositing, baking, and packaging cookies or muffins for the same total size batch.
One thing you will see as you order packaging, is that standard sizes for commercial (let’s use standup) pouches or bags come in 2 oz, 4 oz, 8 oz, 14-16 oz, and some larger choices. But 4, 8, 16 are your go-to sizes for most lines — maybe 12 if you can find those.
So… how much mix goes in each one??
Here is a tip, from experience, that will save you a bump on the startup road:
Three quarters cup per 4 ounces of listed bag size !!!
So the 4 oz bag is 3/4 cup, 8 oz is 1-1/2 cup, 16 oz is about three cups of mix.
Note that with bag manufacturing precision issues and different companies, there is some variation. For example in the brand of bags I use, at 8 oz things are a tiny bit loose, and at 16 oz very tight, considering the fill lines and head space.
But the 3/4 cup per 4 ounces ratio will get you in the ballpark.
Now, we can pick a bag size, and work backwards to the recipe or portion size we need to put in them. For example, we target end products in multiples of 3/4 cup.
Or, we can decide what volume measurement we need, and look for a bag that will fit.
The big commercial manufacturers (links later) all kind of stick with the 2, 4, 8 scenario, but many smaller imported brands (which due to upcoming tariffs, may disappear) come in a wider range of sizes, shapes, and styles.
I will give you a math hack for this, down the page when I talk about sources for bags.
Now let me give you a prepping and filling scenario, so we can put this together in your mind.
Sandy and I did a huge business in “breaking bulk” candies (a topic for another day), plus granola and breakfast mixes.
Here is the assembly line order of things, assuming your mix is ready to go, and you are using standup pouches (bag sources coming soon!):
Put labels on bags (trust me, putting labels on lumpy filled bags is a nightmare… only took once to learn that one.)
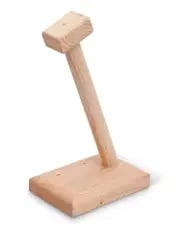
Punch out bags for air space, using a wooden spatula, or use this device below, specifically designed for this job:
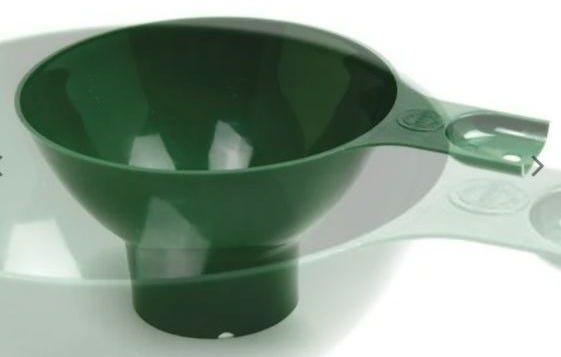
Filling bags is a two person job, especially if you want to rip out 200 finished dry mix bags in under an hour. Partner A grabs the punched open pouches one a time, and sets it down with a funnel in the top of the first bag. Partner B keeps the bucket of mix handy, and uses the measuring tool to scoop, shake slightly to level up, and pours into the funnel. Partner A replaces with a new empty bag, and inserts the funnel. Mr. B scoops, shakes and pours into the new one, as A then pressure closes the zip seal on the previous one, and dumps into a handy box. And so on. Goes pretty fast. With a little practice you can do one every few seconds. (I will eventually have a video showing this.) PS You will want to check scale periodically to be sure you are catching the target weight on your label.
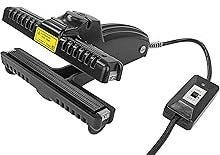
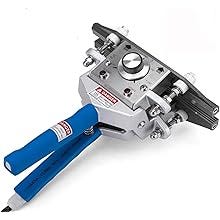
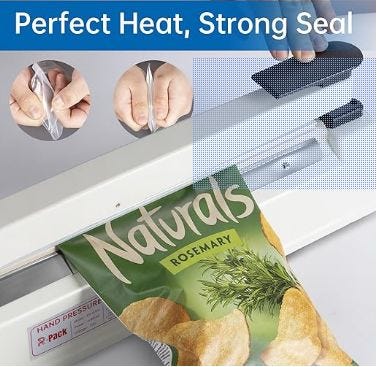
After the fill, use a hand heat-sealer (for on top of a table or counter) to give the bags a safety seal. This is probably not much different that what any baker does for goodie packing.
I recommend your choice of three different models.
As sort of a side topic, picking who is going to do what task, depends a lot on dexterity.
For example, I enjoy great hand coordination, but my fingers (digits) could be sawed off at the knuckle with little loss of dexterity. Sandy, my wife of almost 30 years, is more the opposite, with excellent digit dexterity and moderate hand dexterity.
So she is Partner A, with the light touch around the bags, and I am Partner B, scoop and pour.
Sandy labels and pops the bags (opening the bags is kind of like opening the plactic bags in the produce section of a grocery). I seal - line up bag and press down.
FWIW, lol.
Now, where to get these pouches.
Prices per bag can vary from 10 cents to 30 cents, depending on size, quantity, and quality.
Amazon resellers offer a massive range of bags, including standup pouches, mostly in lots of 100, and colors mostly limited to Kraft, black, white or clear (and all kinds of clear window configurations). Since most of these come from (you know where) foreign sources, I am not sure what will happen with prices or availability over the long haul.
Amazon might be a good place to get started, but… read on.
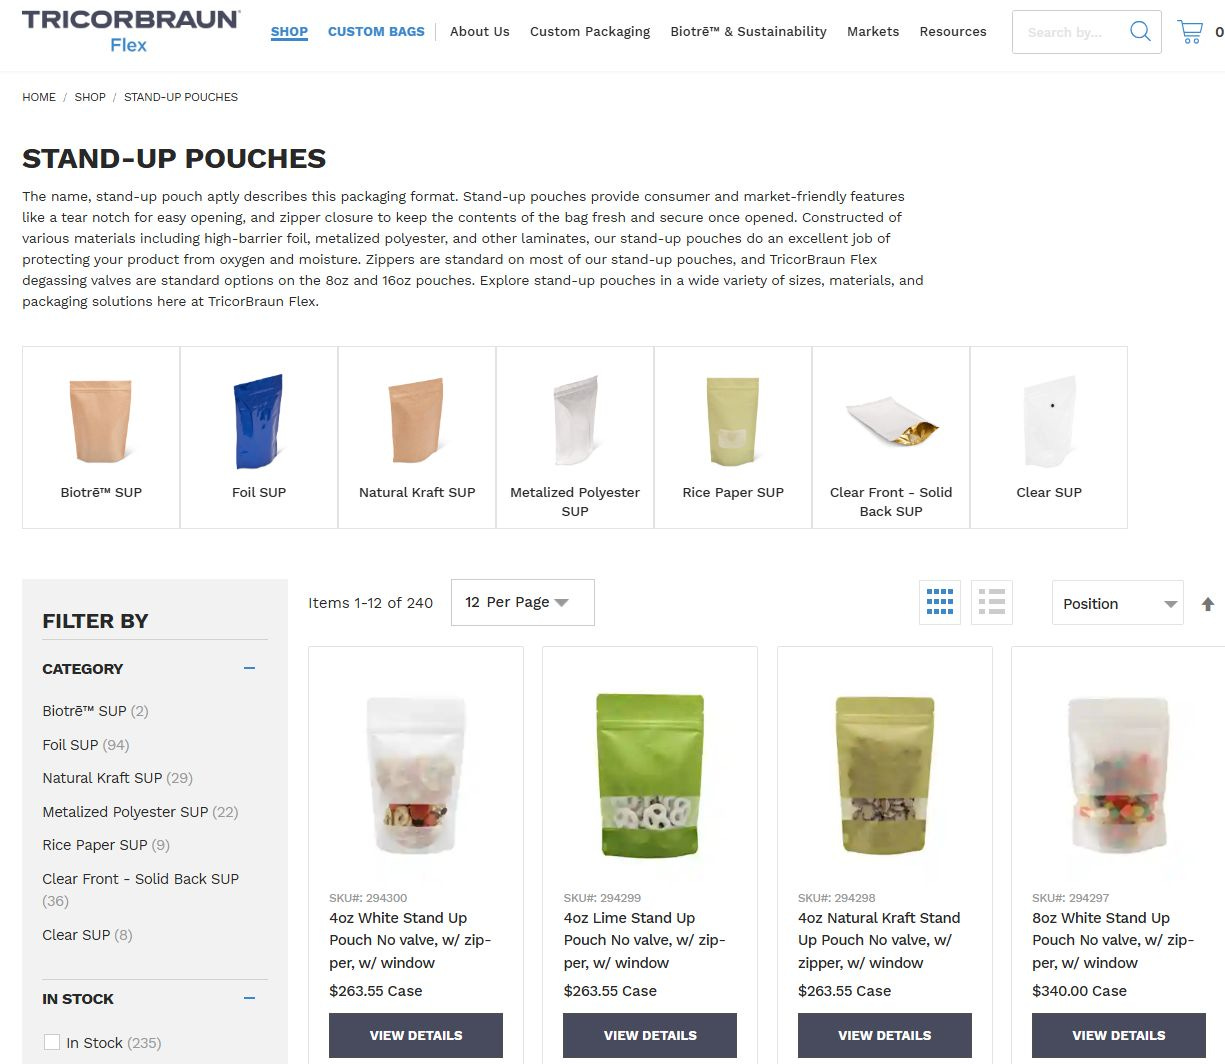
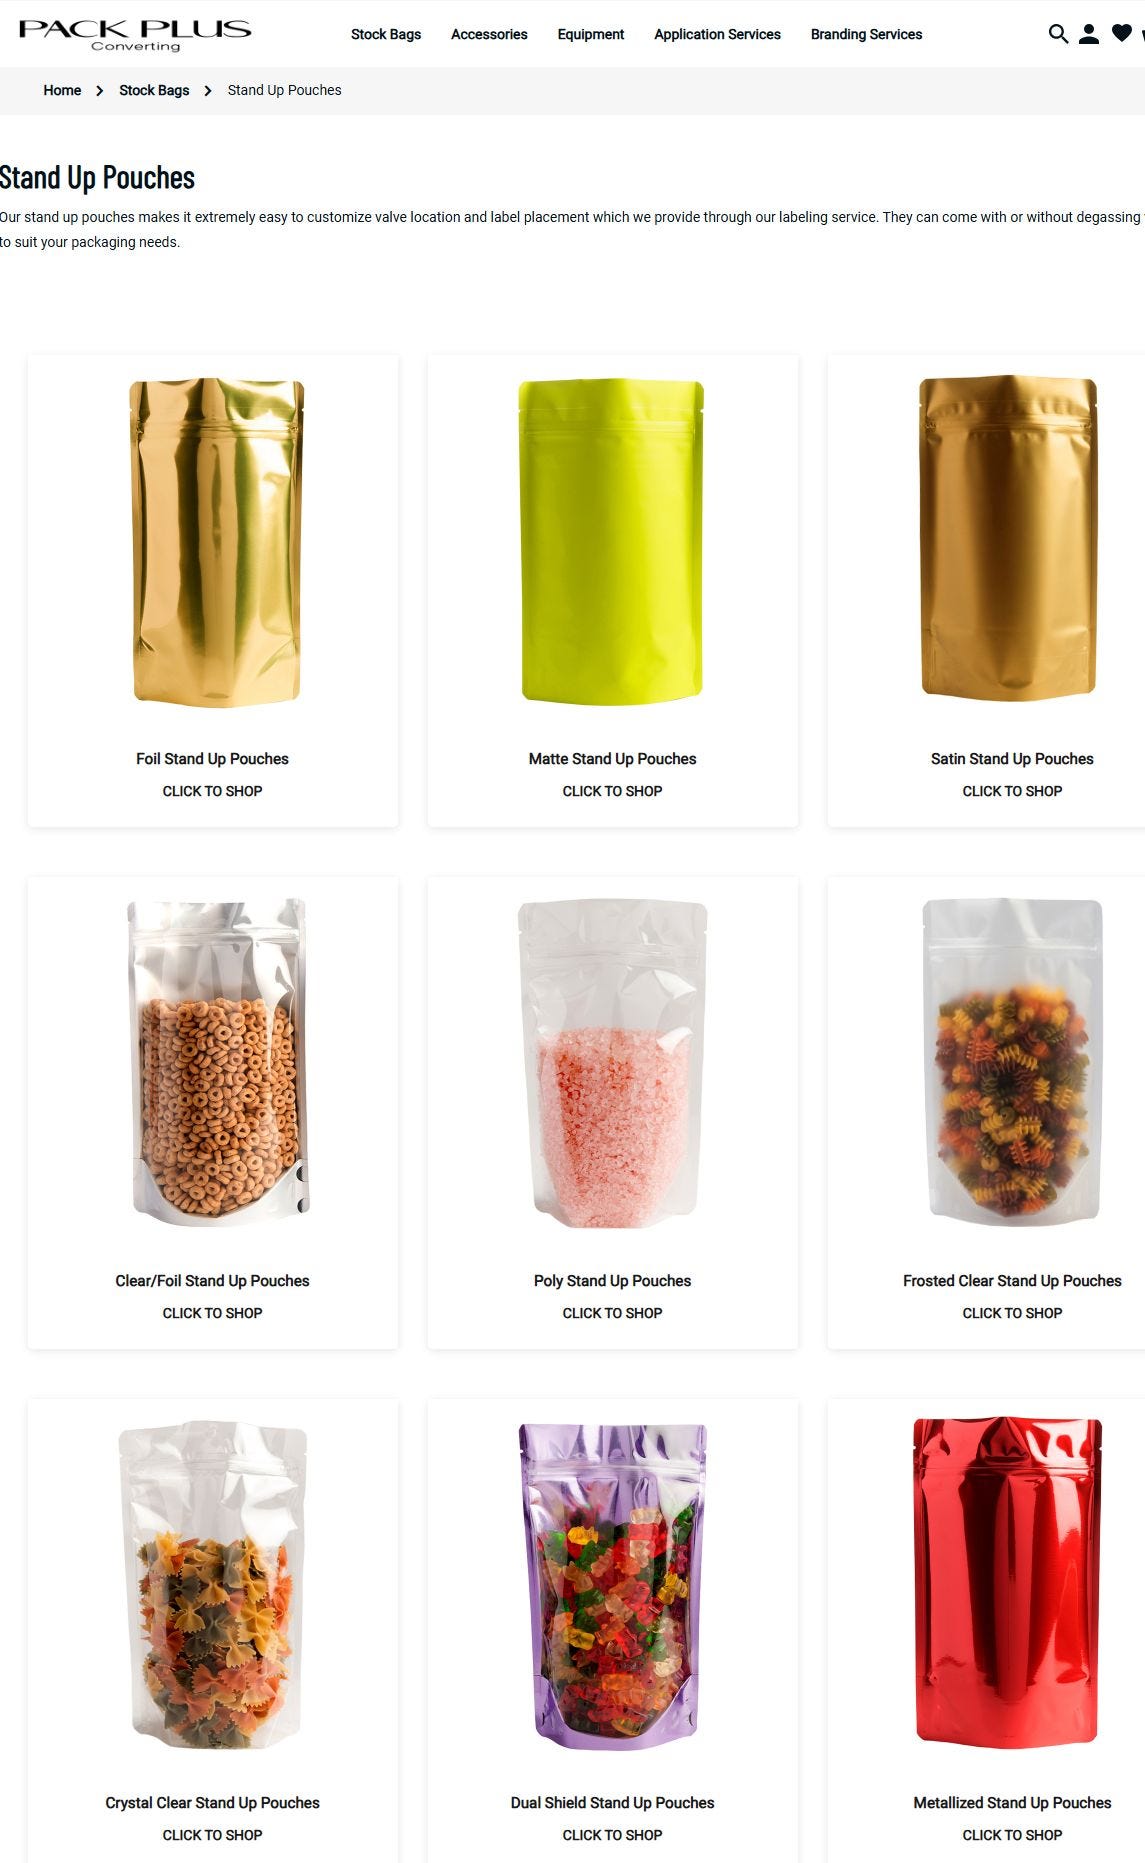
Two of the biggest suppliers/manufacturers of standup pouches include:
A few things to note about these commercial companies:
They will send out free samples if you have a legit business name, so you can play with the fill on the different sizes, see the quality, and play with label sizes.
MOQ (minimum order quantity) is usually about 500 per size/color/style. This makes using a commercial company a future growth step option for most, but the wide range of colors really helps with branding.
Wide range of colors and styles, in bulk.
And the winner is…
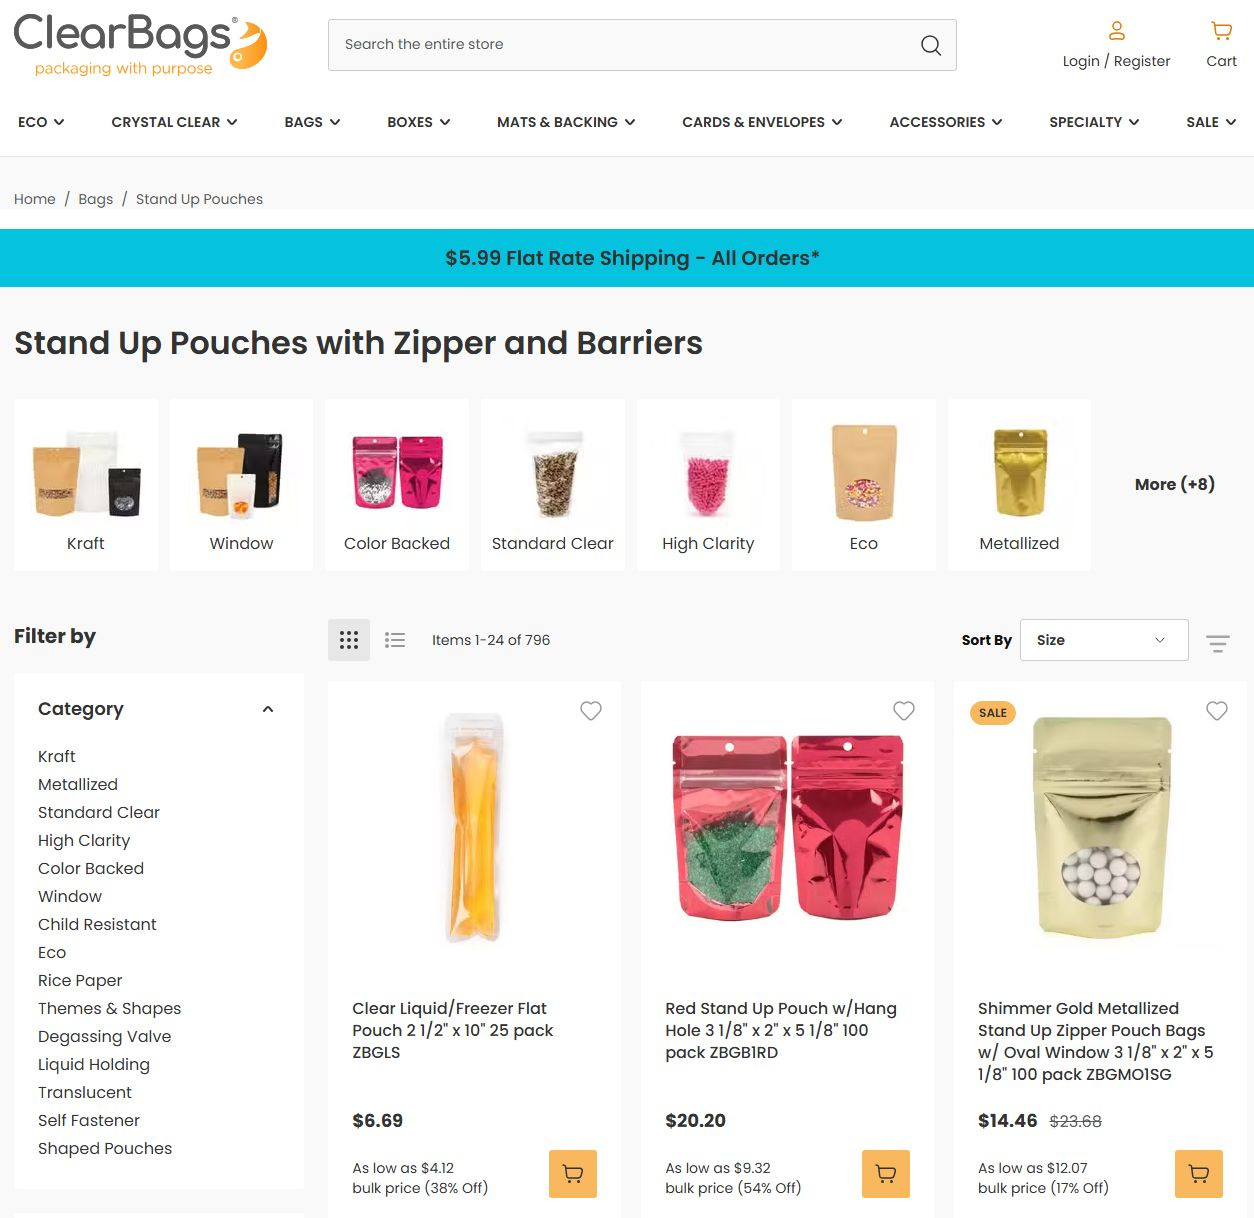
If you are just starting, and want a MASSIVE range of bag colors, styles, and sizes with a lower MOQs, check out:
Substack is telling me I’ve reached my size limit for an email, so going to stop. But I promised you a math hack for recipe or meal size first, instead of bag first, on your dry mix volume.
So remember multiples of 3/4 cup of mix per 4 ounces of bag or pouch rating.
But say we’ve determined that 2.5 cups is our ideal size. This is somewhere in between an 8 and 16 oz pouch.
With a regular bag, not a big problem. But with a standup pouch, what size do we need?
Divide the number of cups in your target recipe size by 3/4 (.75).
(PS If you are good at math, sorry I am boring you ;-)
This gives you 3.333 (2.5/.75) cups. Multiply by the 4 ounces per each 3/4 cup of mix, and you get 13.333… so you are looking for a 13 (or more likely 14) ounce standup pouch.
I did a search on ClearBags and got a few options. For Amazon…those resellers mostly use bag dimensions, a little tougher.
But you get the idea. Bag and product sizing is a bit of an art, depending on what your goal is with your mixes. Maybe easier to use a regular plastic bag of some kind instead of a standup pouch. Sigh.
But… I hope you learned something.
Future articles coming on food grade blenders (Hobart-style mixes are limited, and expensive!)
And we can talk about labels and labeling machines, if you wish…
But, writing up a marketing article for next time…
Mal Dell
The MONETIZATION CHEF
Helping Foodies Cook Up Profits!


